1.0 Introduction
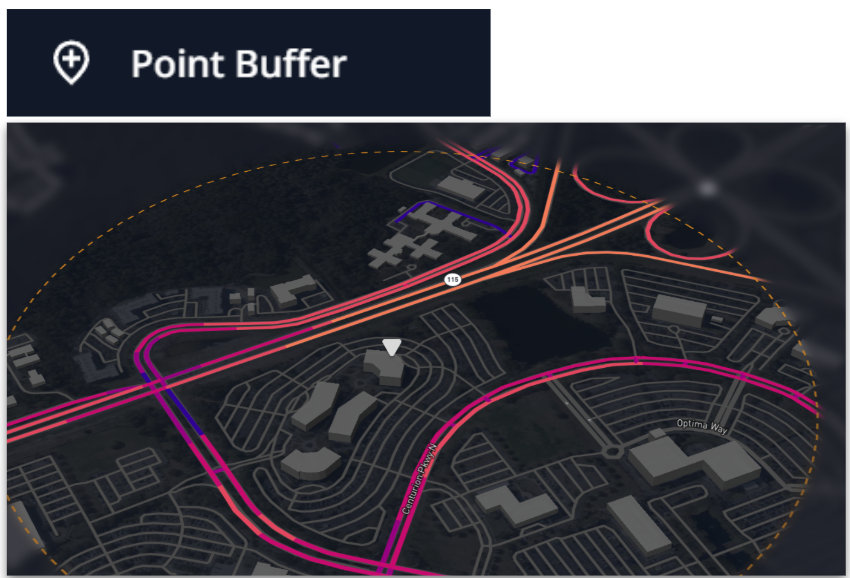
The Point Buffer selection enables you to quickly draw a circle radius around a selected point to select all the links within. Used to assess proximity-based coverage and service reach.
2.0 Point Buffer Selection
You can apply the following steps to use the Point Buffer selection.
Selecting Map Data:
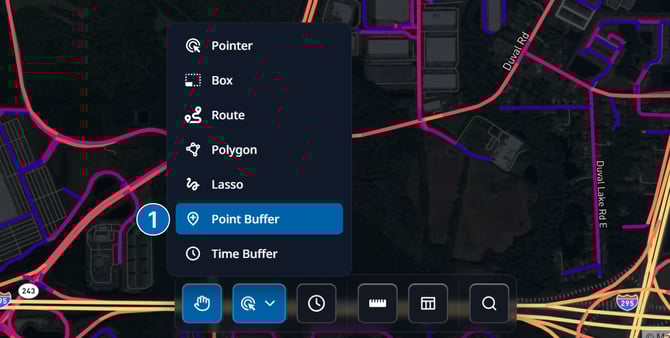
- Open the tool:
- Click the Selection Tools button in the Insights Tool Bar
- Choose Point Buffer from the menu
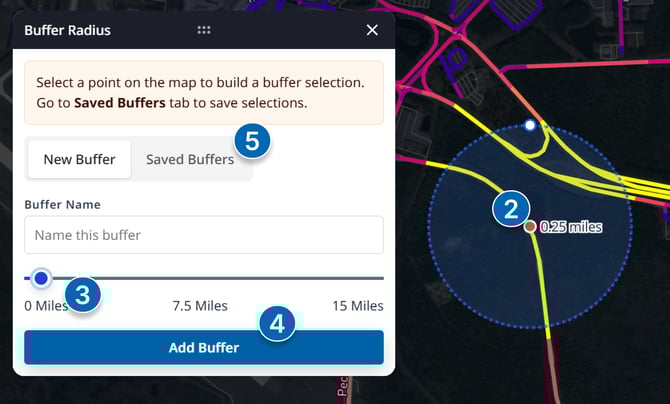
- Place a point:
- Click on the map to drop a point
- A buffer will automatically appear around the point
- Adjust the buffer radius:
- Use the Point Buffer Panel to set the desired radius for the buffer
- Add additional buffers (optional):
- Click Add Buffer int he Point Buffer Panel to lock in the current radius
- Place another point on the map to generate a new buffer
- Manage saved buffers:
- Open the Saved Buffers tab in the panel
- Review, rename, or delete any buffers you've created
6. Saving Selection as an Area Layer:
- Click the "Save Area" button on the selection pop-up to open the save dialogue
- Give your area a name
- (optional) create a new Layer Group, or add the area to an existing Layer Group
7. Viewing Selection Analytics:
- With links highlighted, click the "Analytics" button on the selection pop-up to view an aggregated summary of selected links.
8. Clearing Selection:
- To clear your selection, click the clear button.
