1.0 Introduction
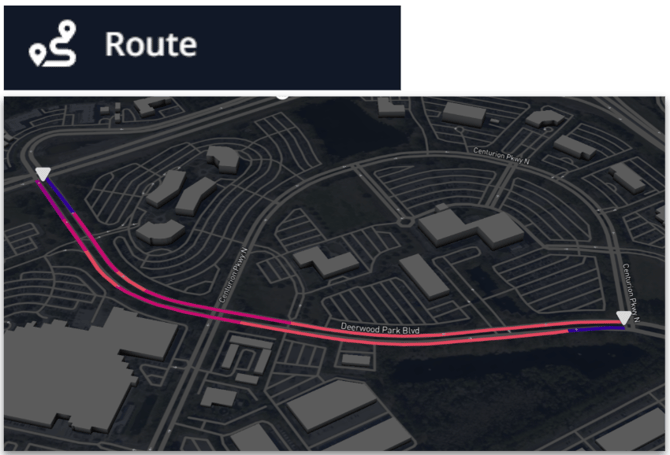
Route Selection lets you draw detailed paths across the map, ideal for analyzing corridor-level travel and connectivity.
2.0 Route Selection
You can apply the following steps to use the Route selection.
Selecting Map Data:
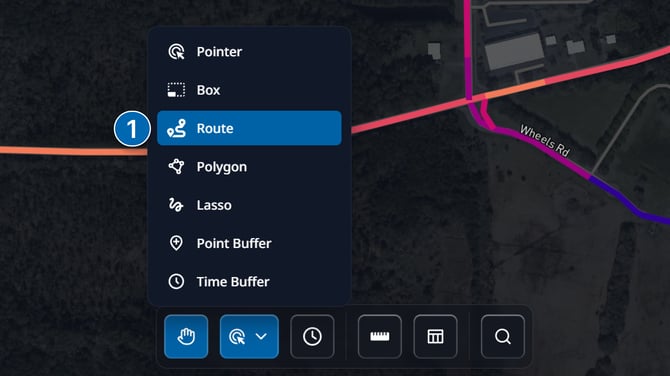
- Open the tool
- Click the Selection Tools button in the Insights Tool Bar
- Choose Route from the menu
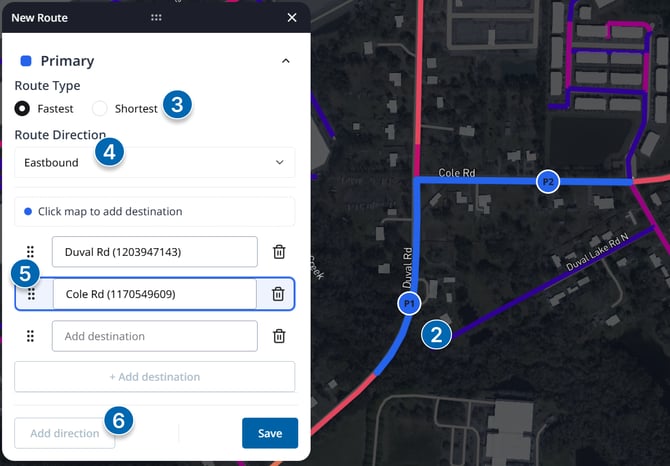
- Place waypoints:
- Click on the map to add waypoints along the desired path
- The route will automatically generate as you place points
- Choose path type:
- Select either:
- Fastest - calculates the route based on the fastest route according to speed limit speed
- Shortest - calculates the route using the shortest path using Euclidean distance
- Select either:
- Set route direction (optional)
- A cardinal direction is automatically assigned to your route
- You can manually adjust the direction if needed
- Manage Waypoints:
- Re-order waypoints in the Route Builder panel
- Or, search for an address by typing it into the waypoint text box
- Add reverse direction (optional):
- Once one direction is complete, click Add Direction
- Repeat the process to generate a route in the reverse direction.
7. Saving Selection as an Area Layer:
- Click the "Save Area" button on the selection pop-up to open the save dialogue
- Give your area a name
- (optional) create a new Layer Group, or add the area to an existing Layer Group
8. Viewing Selection Analytics:
- With links highlighted, click the "Analytics" button on the selection pop-up to view an aggregated summary of selected links.
9. Clearing Selection:
- To clear your selection, click the clear button.
