1.0 Introduction
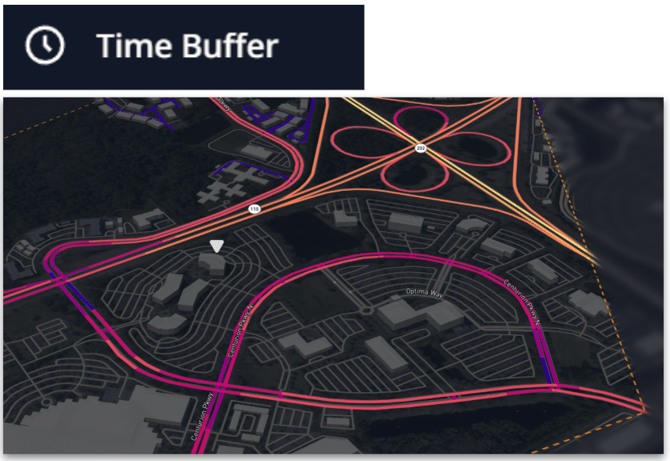
Time Buffer lets you define travel-time boundaries from any point on the map, making it easy to analyze accessibility and coverage areas with precision.
2.0 Time Buffer Selection
You can apply the following steps to use the Time Buffer selection.
Selecting Map Data:
- Open the tool:
- Click the Selection Tools button in the Insights Tool Bar
- Choose Time Buffer from the menu
- Place a point:
- Click on the map to drop a point where you want to calculate accessibility
- Select travel mode:
- In the Time Buffer Panel, choose the travel mode (e.g. walking, biking) to calculate the buffer. The following options are available:
- Walk (Accessibility) - 2.2 MPH
- Walk (Working Age) - 3.2 MPH
- Bike (Road) - 15 MPH
- Bike (E-Bike) - 25 MPH
- Custom
- In the Time Buffer Panel, choose the travel mode (e.g. walking, biking) to calculate the buffer. The following options are available:
- Set buffer parameters:
- Adjust the buffer radius in minutes
- Specify which road classes to include in the calculation
- Generate the buffer:
- Click Simulate to create the time-based buffer around your selected point
- Add additional buffers (optional):
- Click Add Buffer in the panel to lock-in the current buffer
- Place another point on the map to generate a new buffer
- Manage saved buffers:
- Open the Saved Buffers tab in the panel
- Review, rename, or delete any time buffer you've created


8. Saving Selection as an Area Layer:
- Click the "Save Area" button on the selection pop-up to open the save dialogue
- Give your area a name
- (optional) create a new Layer Group, or add the area to an existing Layer Group
9. Viewing Selection Analytics:
- With links highlighted, click the "Analytics" button on the selection pop-up to view an aggregated summary of selected links.
10. Clearing Selection:
- To clear your selection, click the clear button.
